A place for everything, and everything in its place.
A Totally-Not-Boring Blog About Storage
24 Tips to Help you Organize your Storage Unit
Table of Contents
- 1. Throw away anything that you don’t need
- 2. Pick the storage unit size that works best for you
- 3. Clean your unit thoroughly
- 4. Plan in advance
- 5. Clean things as you pack them away
- 6. Use “zones” to organize your storage unit
- 7. Use wire shelving or make your own custom shelving
- 8. Install pegboards
- 9. Use pallets to keep things off of the ground
- 10. Use boxes that are all the same size
- 11. Use clear plastic boxes
- 12. Use a numbered index system for your boxes
- 13. Stack boxes all the way up to the ceiling
- 14. Use brick style when stacking boxes
- 15. Dismantle all your furniture
- 16. Stack furniture on its side
- 17. Store smaller items inside your furniture
- 18. Cover all old furniture in old blankets to avoid dust
- 19. Use waterproof bags for electronics
- 20. Use stretch wrap for clothes or buy vacuum storage bags
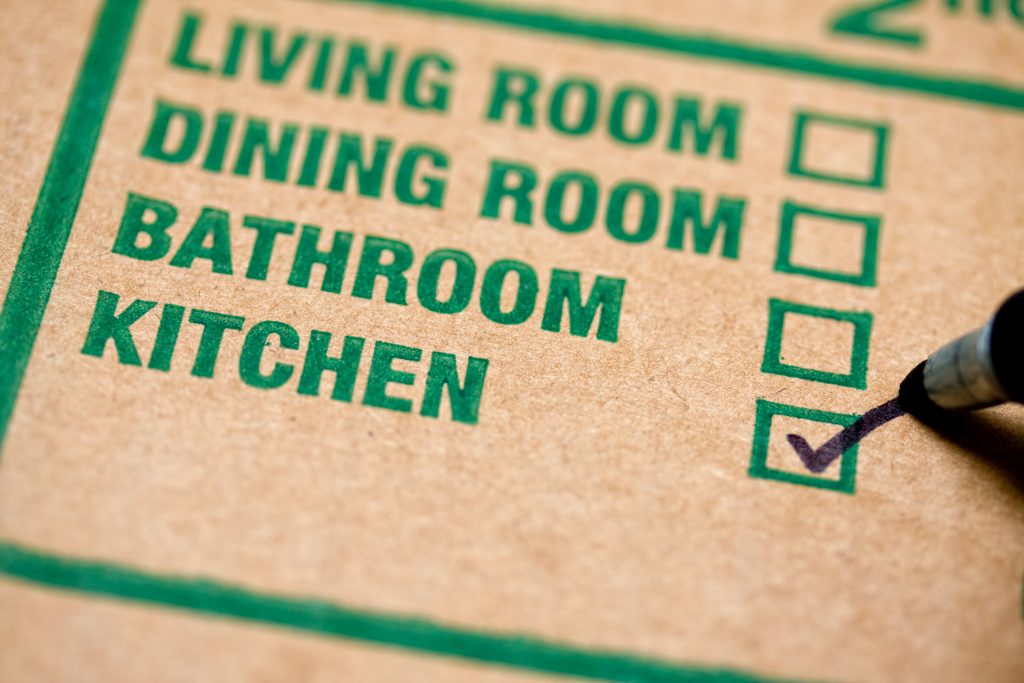
- 21. Use descriptive labels for all your boxes
- 22. Make a map
- 23. Use aisles
- 24. Leave space for more stuff, you’ll always have more stuff
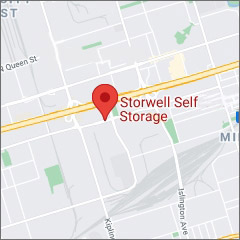
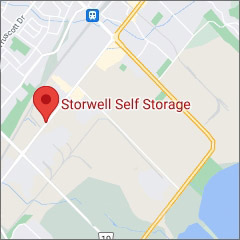
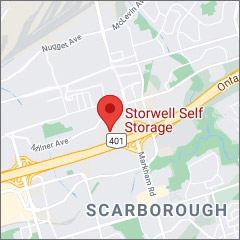
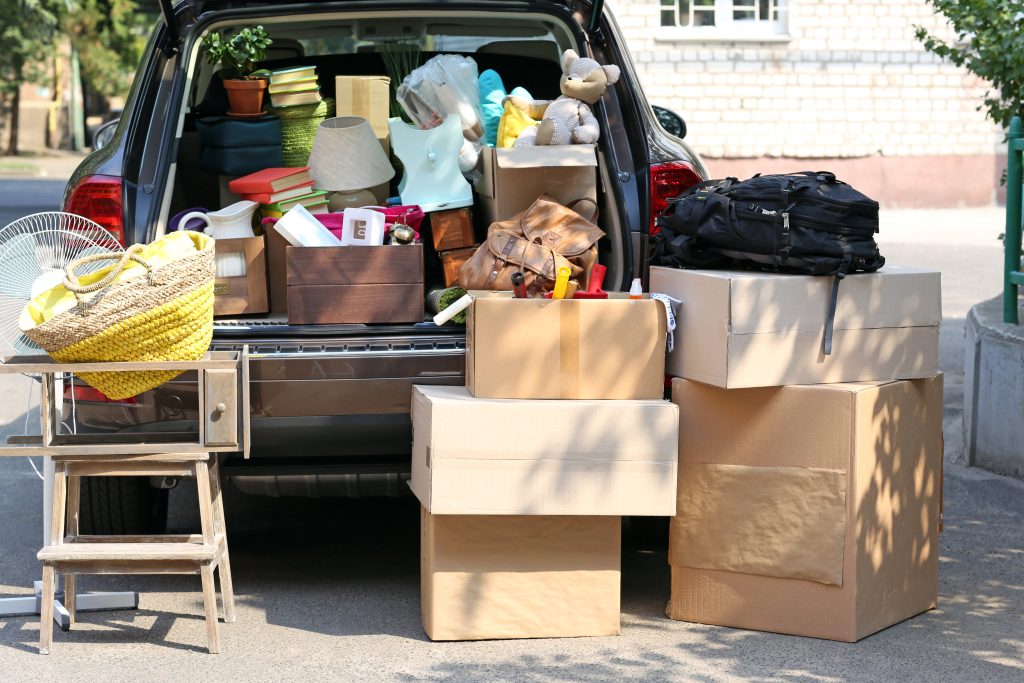
A self-storage unit can be a great option to reduce the clutter in your home. However, if you throw all your stuff into your unit randomly, it’ll not only be impossible to find anything, but you will not be making the best use of the space that you’ve paid for. If you are looking to rent a self-storage unit in Mississauga, Etobicoke, Scarborough at any of Storwell’s facilities across the GTA, here are a list of things to consider to make sure your storage units are organized.
1. Throw away anything that you don’t need
You don’t want to just move clutter from one location to another. Since you’ve decided to move some of your things into a storage unit, this is a great time to get rid of things you no longer need. Go through all of the items that are currently taking up space in your home and ask yourself: Do I really need this? If the answer is no, then into the trash or donation pile it goes. Organizing your storage unit will be much easier if you don’t have to worry about making room for useless things.

2. Pick the storage unit size that works best for you
One challenge people encounter when picking a storage unit is not knowing what size to choose. It helps to take inventory of all the items you want to move into the storage unit, this will help you visualize how much space you need to fit everything. If you still aren’t sure, consult a size guide. When in doubt, go for a size up, you could always use the extra space sometime in the future.
3. Clean your unit thoroughly
If you’re doing business with a reputable storage facility, then all of their units should be clean, but it doesn’t hurt to give the unit a thorough cleaning before moving things in. Also, make sure to notify the facility of any markings or damages that are present in the unit if you find them. Sometimes there could be scratches on the floor or door from when a previous tenant was moving out. Make sure that the facility is aware of any damage, so that you aren’t held responsible.
4. Plan in advance
Once you pick the right size unit and clean it thoroughly it is time to start moving your things in, right? Not quite yet. If you want your move-in to be successful, you must make a game plan in advance. Make a list of all the items you’re moving into the unit. If there are certain items that you want to be able to access frequently than plan to have them near the front of the unit. If you are going to use shelves, know where you’re going to put them. A good plan will make the move-in process go a lot smoother and will help you make the best use of the space.
Bonus tip: Moving into a storage unit takes time; if you have a lot of items to move in, consider taking multiple trips or spreading it out over a couple of days. Try and use a storage facility like Storwell that has 24-hour unit access, so that your move isn’t restricted by the facility access times.
5. Clean things as you pack them away
As you move items into the storage unit, that’s also a great opportunity to give your stuff a good cleaning. Some things that go into storage don’t come back out for several months, and it’s inevitable that dust will start to build up on your items, so try to put them in storage as clean as possible. Make sure to have some cleaning supplies on hand the day of the move and clean any gunk and dirt off of your items as you pack them into your unit.
6. Use “zones” to organize your storage unit
It helps to use “zones” when organizing your storage unit, keep similar items together so that you know where everything is. Try and keep the heavier items in the same place towards the back of the unit. You can store sporting goods all in one place, store all of your photo albums in the same place. This makes it easier to know where everything is located if you ever need to access a particular item.
7. Use wire shelving or make your own custom shelving
If packed carefully into boxes, you could have a very well-organized storage unit by just stacking things on the floor. If you want to make things even more organized, you can get one or two shelving units. This will keep everything tidy, but also create some structure to the space, allowing you to make an aisle where you can move around. The best shelves to use are wire shelving units; they are relatively inexpensive and are very sturdy.
However, shelving units are often very limited when it comes to sizing. If you want you can opt to create your own shelving unit out of PVC pipe, you will be able to customize the size to perfectly fit your unit and it will be a fun DIY project.
8. Install pegboards
It’s usually not allowed to nail anything into the walls of your storage unit, but if you want to add some wall organization you could use adhesive pegboards. Pegboards give you the versatility to store anything you want on the walls of your storage unit. You could hang up tools; tennis racquets, snowshoes, anything that you might need to grab quickly and don’t want to pack up in a box.
9. Use pallets to keep things off of the ground
There are certain items that you don’t want to place directly on the ground. A solution to this problem is to use wooden pallets. You can get these in a variety of places, bars or restaurants frequently get shipments on pallets and have unused ones laying around that they need to get rid of. The same with large warehouses, so inquire at these places and you might be able to get a few pallets for free.
10. Use boxes that are all the same size
If possible, try and use boxes that are all the same size. This makes packing and organization a lot easier. It’s a lot easier to stack boxes that are all the same size. When packing your boxes, keep in mind what items you might need instant access to. If there are things you’ll need to recover frequently, try to keep those boxes at the top of the pile. If there are things you’re packing for long term storage, they can go towards the bottom of the pile.
11. Use clear plastic boxes
The best way to go would be to use large, clear plastic boxes. These boxes are very sturdy and have good lids that close tightly. If your boxes are clear, you will be able to see the contents of the box from the outside. If you are looking for a particular item, you’ll be able to quickly scan the contents of all of your boxes from the outside without having to tear everything down. Even though you’ll be able to see inside your boxes, a detailed labeling system is still very important.
12. Use a numbered index system for your boxes
Even if you use clear boxes, it’s still important to make some kind of indexing system to keep all of your things organized. This can be as simple as numbering your boxes and jotting down which numbers contain which items. It makes things much easier to find and will help you check that you haven’t lost any items.
13. Stack boxes all the way up to the ceiling
Make use of all of the vertical space in your unit. Stack boxes all the way up to the ceiling. The boxes that contain the heavier items should be placed at the bottom so that they don’t crush any lighter items, they will also provide some structural stability to your stacks. It’s a good idea to keep a step stool or small ladder in your storage unit so that you can reach items stacked up high more easily, the last thing you want is to struggle trying to get the top box and have the whole stack collapse on you.
14. Use brick style when stacking boxes
Stacking boxes up as high as they go can lead to some leaning stacks. To avoid leaning and making your stacks more stable, use the brick style stacking system. Place one box in the middle of two other boxes so that all of the boxes are slightly offset. This will leave some space unused but will make your stacks far more stable, and you will be able to take boxes out without having to take down the whole stack.
15. Dismantle all your furniture
When storing furniture, make sure to break it down the most you can. Take legs off of couches, dismantle cabinets, and take apart desks. If you can break the furniture down into smaller and flatter pieces, there will be more ways that you can fit them into your unit and make the best use of the space.
16. Stack furniture on its side
For furniture that can’t be broken down, stack it up on its side so it takes up more vertical space than horizontal space. You want to use up as much vertical space in your unit as you can, that way you’ll be able to leave yourself some room to make aisles or have some space to move around.
17. Store smaller items inside your furniture
You can use furniture to store other smaller items. If you are storing a drawer in your storage unit, don’t keep it empty, you can fill it up with clothes or other smaller items that you are also storing. Just be careful not to over pack the furniture, although it can probably hold a good deal of weight, if it’s too heavy the wood might get damaged.
18. Cover all old furniture in old blankets to avoid dust
Dust is bound to start collecting over old furniture in a storage unit. To protect your items, use old blankets or old clothing to keep the dust off of the furniture. Every once and a while, go in and air out the blankets to clear off any dust that has accumulated. If you have moving blankets they would work perfectly for this.
19. Use waterproof bags for electronics
Storing electronics for long periods of time can be tricky. The best thing you can do is use waterproof bags for electronics, this will protect from any dust or moisture getting in and causing problems. If you plan on storing electronics, it’s best to check if your storage facility has a sprinkler system. Sprinklers can malfunction, so for electronic storage, a facility like Storwell, without sprinklers, is your best option.
20. Use stretch wrap for clothes or buy vacuum storage bags
To make the most of your space and protect your clothing, look to wrap them in stretch wrap or use vacuum storage bags. These will help compress your clothing so it takes up less space and will also protect the clothing from any mold that could build up from moisture in the unit.
21. Use descriptive labels for all your boxes
Even when using clear boxes, labeling is still very important. Make sure that you are using very descriptive labels. A box that says “old stuff” or “kitchen” doesn’t give you a very good idea of what’s in the box. Make sure your labels are detailed and easy to read, use large letters.
22. Make a map
A good idea is to make a map of all of your stuff and where it is in the unit. Make a simple diagram of all of the items in the unit and draw where they are roughly located. This acts as an inventory for you unit and will help if you ever need to access an item quickly.
23. Use aisles
Filling up your unit to the brim might make the most use of your space, but it’s not the best idea for storage organization. A better option is to leave an aisle or multiple aisles so that you can move around in your unit more freely. If you just have a wall of stuff it’ll be nearly impossible to take any one item out of your unit without removing all of your items. Aisles will let you move around in your unit and will give you a better sense of what stuff you have in your unit.
24. Leave space for more stuff, you’ll always have more stuff
If your unit doesn’t fill up to 100% capacity, don’t worry that’s actually a good thing. It probably means that you’ve done a good job at organizing your unit, so your items were able to fit in a more compact space. It also means that you have more room to move around the unit if you need to get an item out of storage. And finally, it means that you’ve left yourself room to store more stuff in there later, and there will always be more stuff you’ll need to store.